Part 56: Leyte Gulf: December 19, 1944
The island of Leyte is just within our grasp. If we take it, the rest of the Philippines will be ours, and Japan's fate will be surely sealed.
Allied Turn 16 (USA): December 19, 1944
Fair, Dry - NIGHT

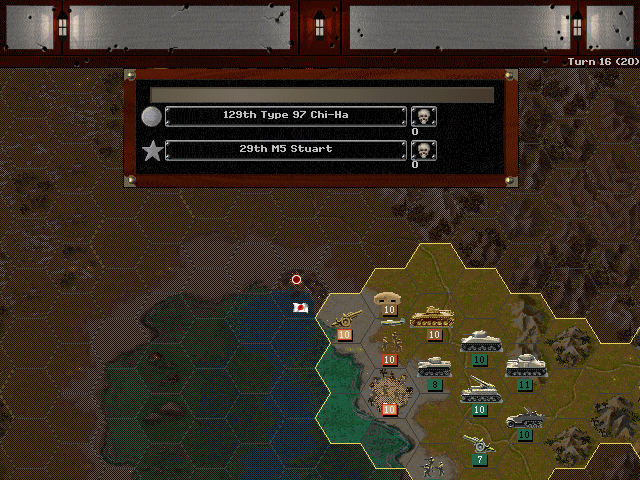
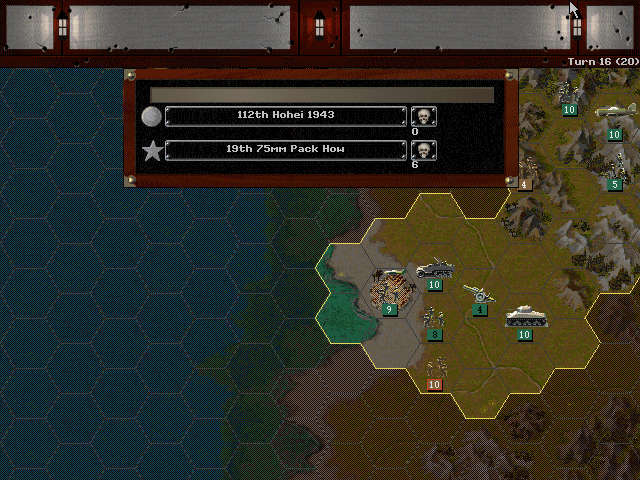
We assemble our forces to attack Ormoc.
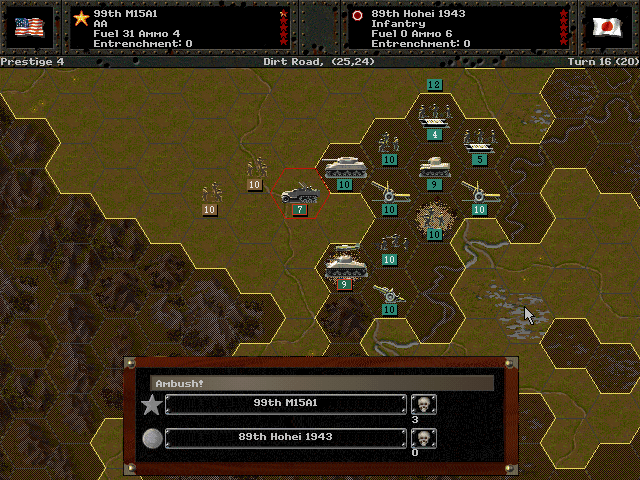
Scouts in the north run into an enemy ambush.

No enemy naval units have been encountered, so our ships are available to bombard the shoreline.

Baybay is captured.
Axis Turn 16 (Japan): December 19, 1944
Fair, Dry - NIGHT
Units at Ormoc engage us immediately.

Actual horse cavalry make a charge against the Marines.
Baybay comes under attack from the remnant of the Japanese forces there.
Allied Turn 17 (USA): December 23, 1944
Fair, Dry

At Baybay, we spread out to eliminate any threats. We don't need to push any farther north.
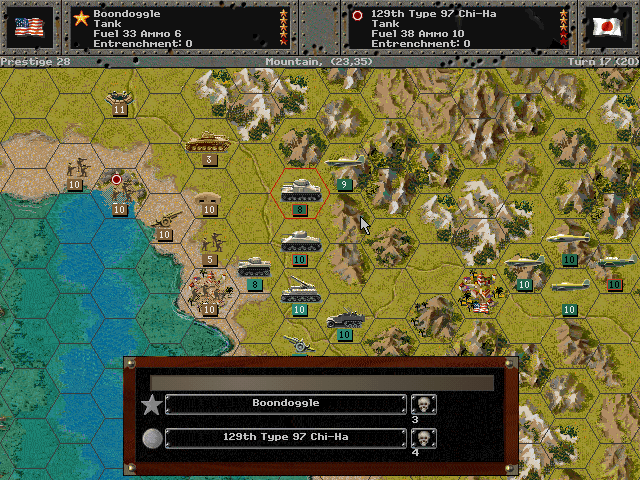
It's easy for us to overwhelm the rather weak Japanese tanks.

There are a large number of enemy soldiers between us and Carigara; we can probably make it, but it'll be a slog.

Our tanks on the enemy flank do gain control of Santa Cruz, however.
Axis Turn 17 (Japan): December 23, 1944
Fair, Dry
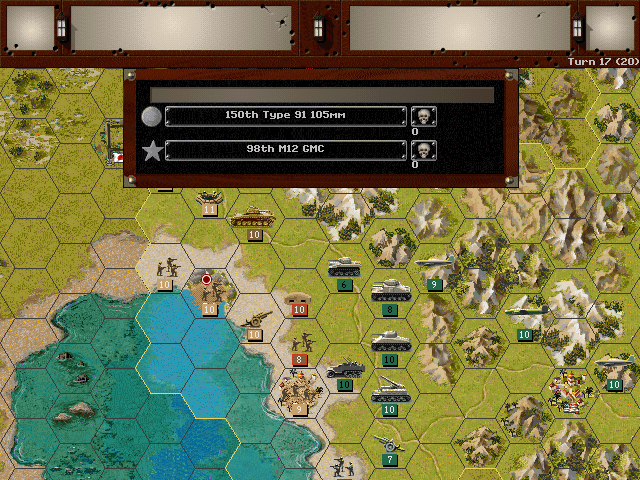
Our artillery is well-protected by armor, and counterbattery fire fails to have any effect on it.

We take some losses in the north.
Allied Turn 18 (USA): December 27, 1944
Fair, Dry
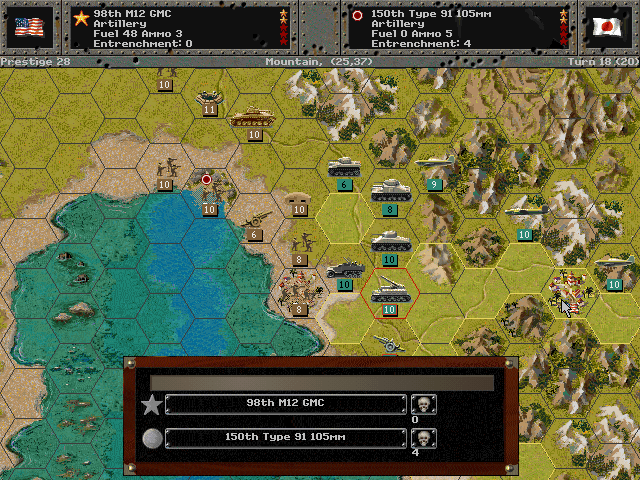
We win the artillery duel as we destroy a fair number of the enemy's guns.

Down the shore from Ormoc, Ipil surrenders.

The enemy forces are being thinned out in the north.
Axis Turn 18 (Japan): December 27, 1944
Fair, Dry

Morale is high among our men; casualties near Ormoc are minimal.
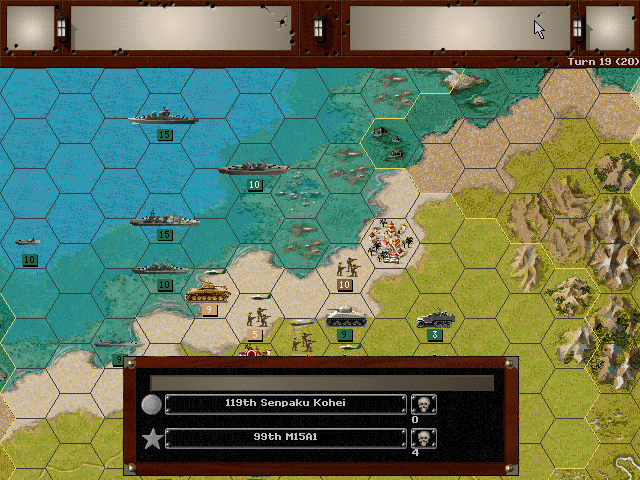
Allied Turn 19 (USA): December 31, 1944
Fair, Dry

A cautious advance northward is made from Baybay.

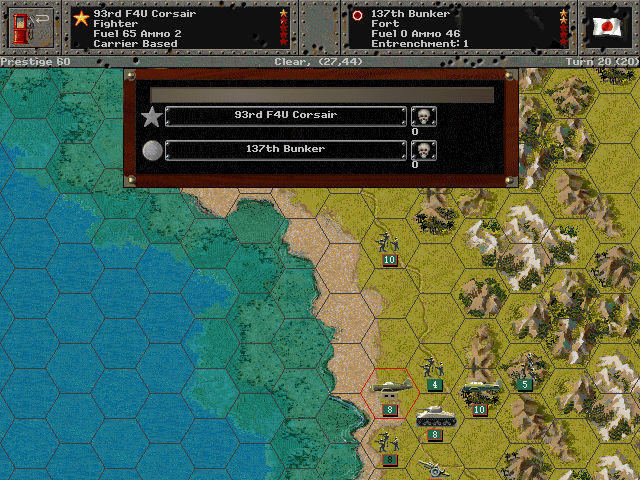
Tanks and planes bust through the last bunker near Ormoc.
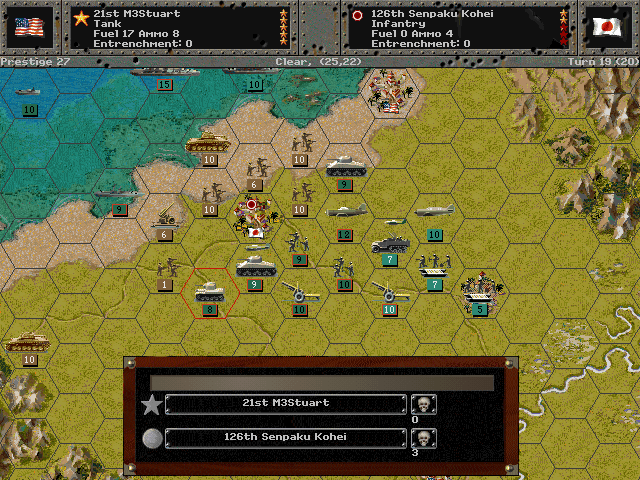
In the north, we make our way to Carigara, but do not try to strain our forces to capture it.
The first time I played through this, I did just that and lost three units.
Axis Turn 19 (Japan): December 31, 1944
Fair, Dry

Some fighting occurs in the south, but it's not very serious.
Near the shoreline, the Japanese marine units do the best they can, but it's not likely to slow us by much.
Allied Turn 20 (USA): January 4, 1945
Fair, Dry
We knock out another strong point in the south.
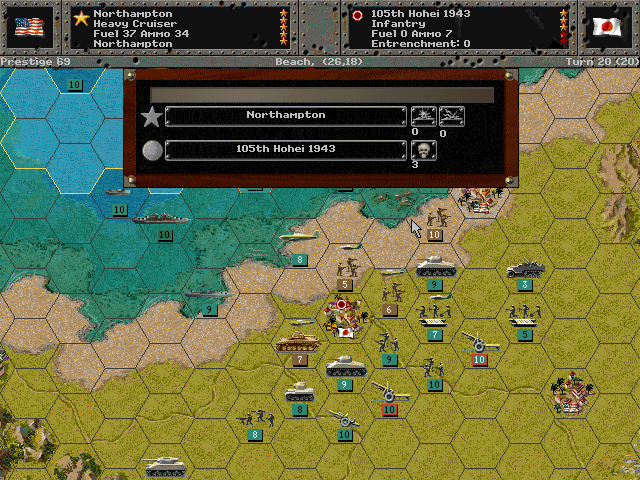
Carigara is properly cleared out after some more intense combat.
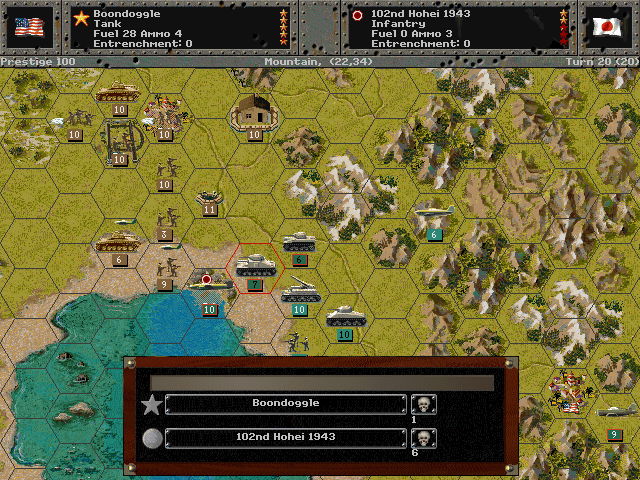
While there's still a significant number of Japanese troops in the area, the port of Ormoc -- and thus the island -- is sure to be denied them.
We push a little more to make sure it's completely secure.
It was a hard-fought battle, but we came out with a pretty big win here. Even if we hadn't just cut off their main supply route, it appears the Japanese are finished on the seas, since their navy completely failed to show up.
Result: Decisive Victory (3021-992)
Ending Prestige: 1316

Unit Spotlight
M12 GMC
PG Name: M12 GMC How Type: Artillery
Effective Date: 12/43
Value:24 Cost:288 Spot:1 Move:5 MM:Gun Trans:Naval Fuel: 48
Init:4 Range:3 SA:19 HA:14 AA:0 NA:0 GD:7 AD:6 CD:2 TT:Hard Ammo:4
The M12 was built by mounting a 155mm gun on top of the M3 (Lee) chassis. While it entered service in 1942, it wasn't considered to be of much value except as a training unit, as better units were being produced. However, a number of them were sent to Europe for the Normandy breakout, and they were used to crack fortified enemy positions as the Allies marched toward Germany. The M12 carried so little on-board ammunition that a dedicated ammo carrier (the M30, also based on the M3) was developed just to assist it.
In-game analysis: This is one of those powerful units with low ammo capacity. I've never been a fan of them. Even if it's mobile, its speed is only average, and it's also super expensive to boot.
Bogue-class Escort Carrier (44 built)
PG Name: Bogue Type:Carrier
Effective Date: 8/42
Value:18 Cost:324 Spot:3 Move:3 MM:Deep Naval Fuel: 199 Capacity:1
Init:3 SA:0 HA:0 AA:[10] NA:0 DA:0 GD:12 AD:3 TD:6 TT:N/A Ammo:40
The concept of the escort carrier was a British idea, but one that Roosevelt was particularly taken with, and building up an American escort fleet became a priority for the USA. The Bogue class (like most escort carriers) was built on a cargo ship hull, making it lightweight but also rather vulnerable. Most of the ships of this class were delivered to the British, with only 8 serving in the Pacific; all of those survived the war.
In-game Analysis: While the idea of an escort carrier isn't that bad, the American ones are generally a poor deal. This one is no exception. By far the biggest problem with the escorts is how slow they are, but the Bogue is also rather delicate. An escort could potentially be a lifesaver for aircraft in this game, but it needs to be able to move to where it's needed and not get itself killed while the airplanes repair.
North American B-25 Mitchell
PG Name: B-25B/B-25H Mitchell Type: Tac Bomber
Effective Date: 7/42 / 4/44
Value:26/30 Cost:312/360 Spot:3 Move:8 MM:Air Fuel: 126
Init:2 SA:5/7 HA:5/7 AA:[6]/[10] NA:5/11 GD:11 AD:12/17 TT:No Ammo:6/10
The B-25 was designed as a fast medium bomber. The Army liked both the B-25 and the B-26 (which was faster, but less reliable), and initially they were produced in roughly equal numbers. The B-25 was the more common choice in the Pacific, however. Most famously they were used for the Doolittle Raid in 1942. A later model was bristling with machine guns and stuffed a 75mm gun in the nose, making the plane usable for ground attack. The big tank-sized gun wasn't the best fit for the plane, however, as it had significant recoil and made the plane an easy target due to the careful aiming required. The final version of the plane removed it.
In-game Analysis: This is not even as good as the Avenger, and yet it costs a whole lot more. You should not have to pay that much extra and only get a bigger, less effective bomb load out of it. Skip the B-25B model and pay for the B-26 if you want land-based ground attack. The B-25H is an okay model, as it has much better protection in the air and a greater chance of hurting things on the ground than the first design.